P38A Range Rover Auxiliary Input
Introduction
Many people find the standard rear-mounted CD changer a bit antiquated these days. The factory Harmon Kardon sound system, with subwoofer, is excellent, but the CD changer is less than ideal. I was already used to in-dash MP3/CD in her last vehicle, so a trunk-mounted CD changer seemed like a giant step back in terms of convenience and functionality; although the Range Rover was a giant leap forward overall. We decided to install a portable MP3-CD player and a 10GB hard disk MP3 player in the front center armrest compartment. If you are serious about audio quality and reliability, you will not use an FM modulator. I decided to tap into the audio outputs from the factory CD changer for the cleanest signal possible.
Power
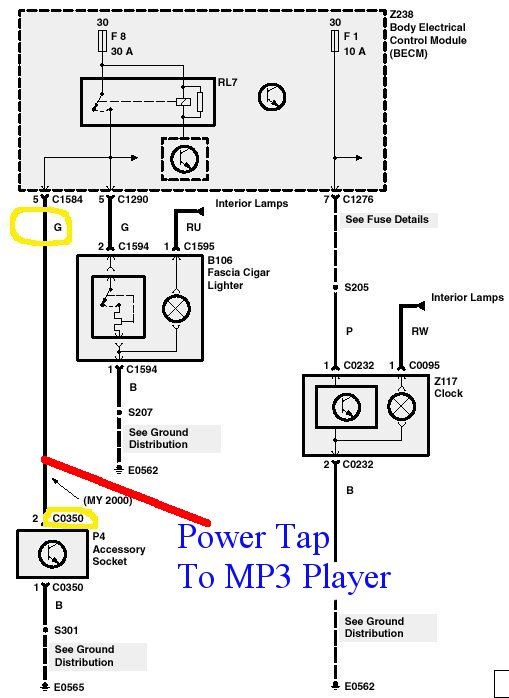
Power to the center armrest compartment comes from the accessory power socket in the right rear of the trunk area. This meant that I did not need to tear the dash apart to find power, which made my life easier. The rear accessory socket provides power when the key is in the on position, which we thought was good enough. It is not directly linked on and off with the radio power. This is an advantage because it allows us to charge cell phones and bluetooth headsets in the center armrest while the key is on even if the radio is off. The following diagram from the Electronic Troubleshooting Manual (ETM) shows the switched wire to the accessory socket and the connector number.
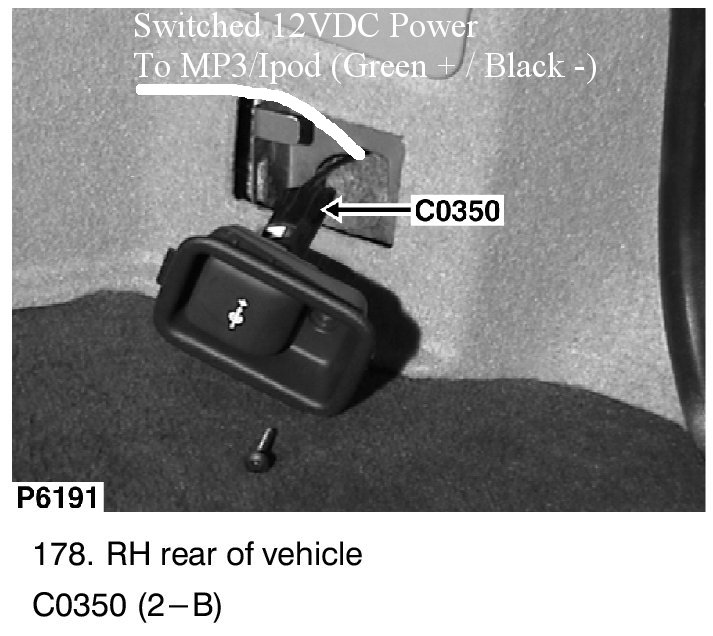
This photo from the ETM shows the connector behind the accessory socket. I cut about 1/4" of insulation from each wire, soldered extension leads running into the trunk area, and insulated the connections with electrical tape.
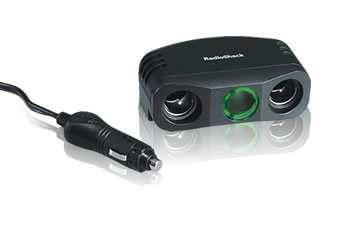
I mounted a 3 outlet car power adapter in the armrest.
Analog Signal
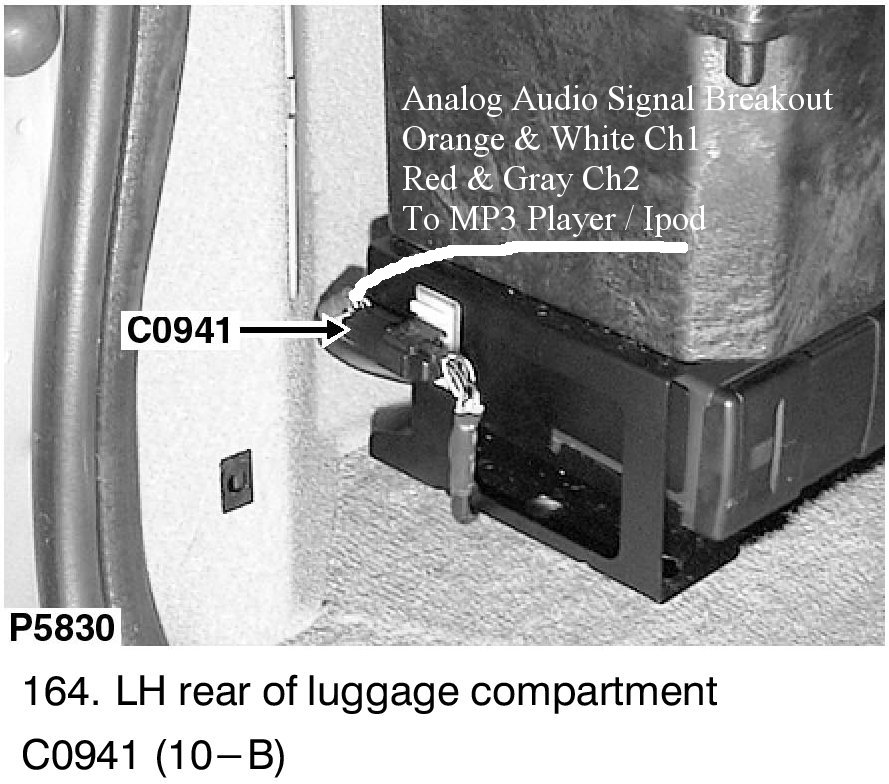
I decided to tap into the analog audio signal wires used by the factory CD changer. Cheap FM modulators are not good enough. People purchase Range Rovers because many other vehicles are simply not good enough for them; they want the best. Please continue this philosophy by not using FM modulators. The wires running to the CD player provide power, 2-way digital communication with the dash radio, and analog audio output back to the radio. The following ETM diagram clearly shows the two pairs of audio wires between the CD changer and the radio.
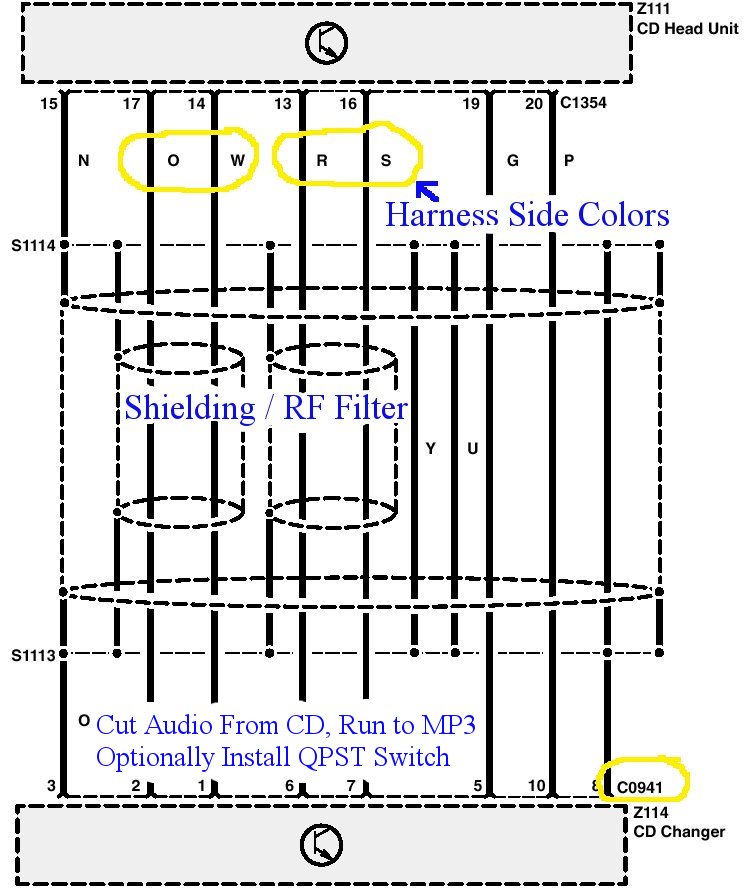
Simply splicing into or piggy-backing the MP3 audio wires in parallel with the CD player did not work. The radio requires the CD magazine and at least 1 CD to be present and playing in order to stay on the CD input. We decided to cut the signal wires and run them to the MP3 player. We left the CD player side of the signal wires disconnected because we do not plan on using it again. A QPST switch could be installed to mechanically switch between the MP3 player or the CD changer, but we elected to skip this step. I left a bass testing CD in the player during initial testing, but some audio was still getting to the subwoofer even though the two audio lines from the CD player were disconnected. I burned a CD with 70 minutes of silence to solve this problem; I created the huge single silent wav file with Audacity. This was necessary because the RR actually cuts the audio output for a split second during CD track changes.
The following ETM photo shows where to tap into the 4 signal wires on the harness side of the CD player connection.
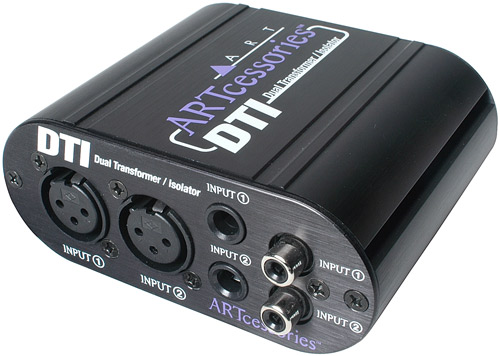
I bought a 16' headphone extension cable from Radio Shack, cut off the female end, spliced the wires to the wiring harness, and ran it to the armrest along with the power wires from the accessory socket. I originally tested with the MP3 player running on its batteries and everything worked great. I then tested with the MP3/CD player running on its 4.5V DC adapter and vehicle power. I had huge electrical noise problems even with the engine off. The problem was ground loop isolation. Basically, the CD player was using the audio signal ground wire for power ground instead of its dedicated power ground intermittently, which resulted in high frequency noise dominating the audio signal. I had this same problem when I hooked up a subwoofer to my home theater setup. One solution is a ground loop isolator (GLI), which eliminates direct connections to ground on the audio lines by using some specially designed transformers. The $15 GLI from Radio Shack will work, but its audio performance is not ideal; the high and low ends of the audio spectrum may suffer. I elected to use the ART Dual Transformer Isolator (DTI) that I bought from Parts Express, which has nearly perfect frequency response throughout the audio spectrum. I installed this under the driver's seat to save space in the armrest. Electrically, it is installed between the Line Out on the MP3/CD player and the line I ran to the CD player wiring harness.
Audio Sources
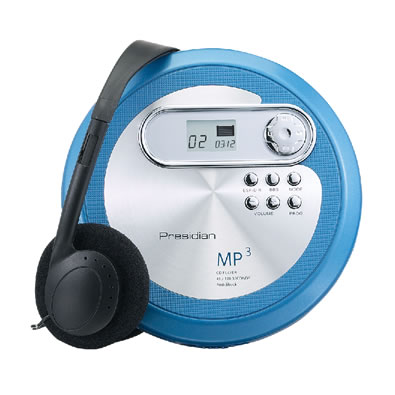
The MP3/CD player is a portable CD player car kit that we purchased from Radio Shack.
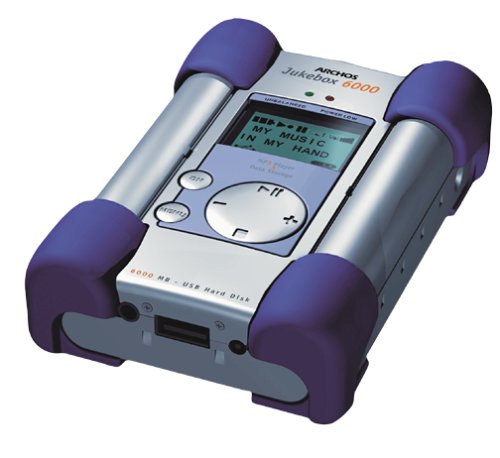
The Archos Jukebox 10GB MP3 player is several years old, but it still works great. We may upgrade to an Ipod 60 or 80GB in the future.
Armrest Layout
Still working on this...