P38A Range Rover Coil Spring Conversion
I rebuilt the electronic air suspension (EAS) valve blocks on both of our Rovers in 2007. I rebuilt the valve blocks with o-ring kits from Rover Renovations, which is now True Points 4x4. That kit also has new o-rings for the air springs, air tank, and air dryer. I replaced the air dryer media with new media and I replaced the front air spring bellows with new Arnott ones in 2008 and 2009. I did not replace the rear air spring bellows because the original ones seemed to still be in good condition. I hindsight, I should have replaced the rear bellows at the same time. Two to three years later, in the fall of 2010, various leaks popped up thanks to the San Antonio summer and Syracuse winter. I noticed occasional height increases in addition to leaky rear bellows on both cars. This indicated the valve blocks needed another rebuild and both cars needed new rear bellows. The leaks diminished as the temperature increased. Fast forward another year to fall 2011 and the leaks are even worse. Because of the leaks and neglect, the compressors are both pumping very slowly and we got some soft faults. Both of our 2000 P38A Range Rovers are in remarkably similar condition.
My plan was to get new o-ring kits, new diaphragms, compressor rebuild kits, and bellows. However, three things changed our minds:
- A fault or two happened to one Rover and we had to drive with the suspension in a strange state.
- I bent the press-on compressor piston seal retaining ring and I was unable to get the new seal on tight. The "rebuilt" compressor pumped up alright, but it made a bit more noise than the original, which cannot be good for longevity.
- I discovered some very tiny cracking in the 3-year-old Arnott bellows, though they were not leaking at all.
This combination of factors led us to consider and finally choose to do the coil conversion. I don't want to have to mess with the EAS myself, worry about it, or pay someone else to mess with it every few years. Also, the cost of new bellows and a new compressor was about the same as the coil conversion kit. Don't get me wrong, I love the original air suspension. I just don't have the time, energy, desire, or money to keep up with the EAS for two aging Range Rovers. Also, we do not tow very often, so the excellent automatic load-leveling aspect of the EAS is not a primary concern for us. In the future, if we decide that perfectly level towing is a concern and the coils are not cutting it, I can always install a very simple Firestone Coil-Rite or Air Lift 1000 manual air helper spring system inside the rear coil springs.
For comparison, I measured the EAS at different settings. The axle center to fender distance was about the same, within 1/4", at all four wheels on both vehicles. I did not measure to the ground because that measurement would not help anyone with different tires.
| Height Setting | Axle-Fender Distance |
| High | 20.5" |
| Standard | 19" |
| Low | 18" |
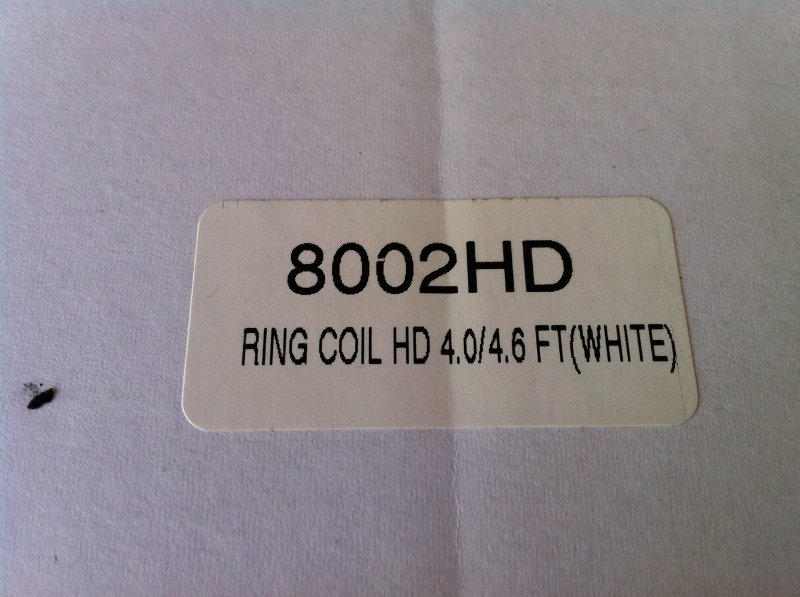
| AB HD Coils | 20.5" |
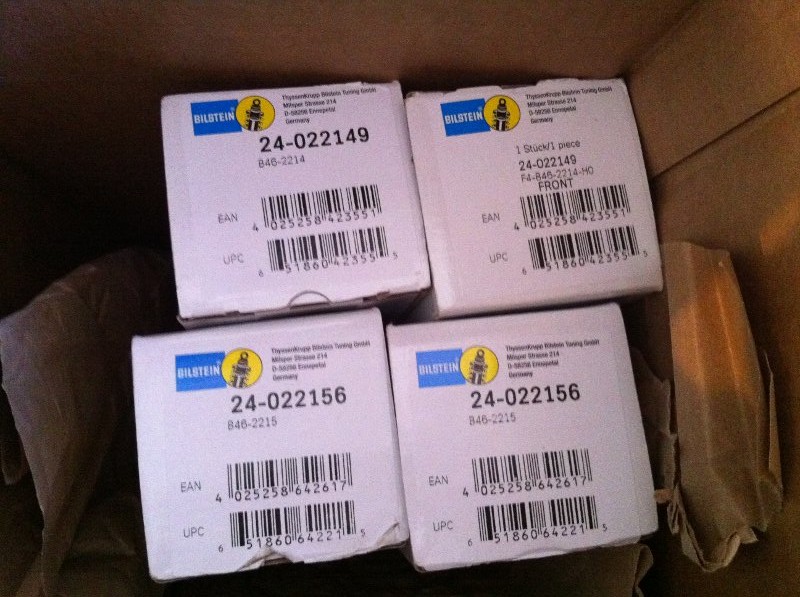
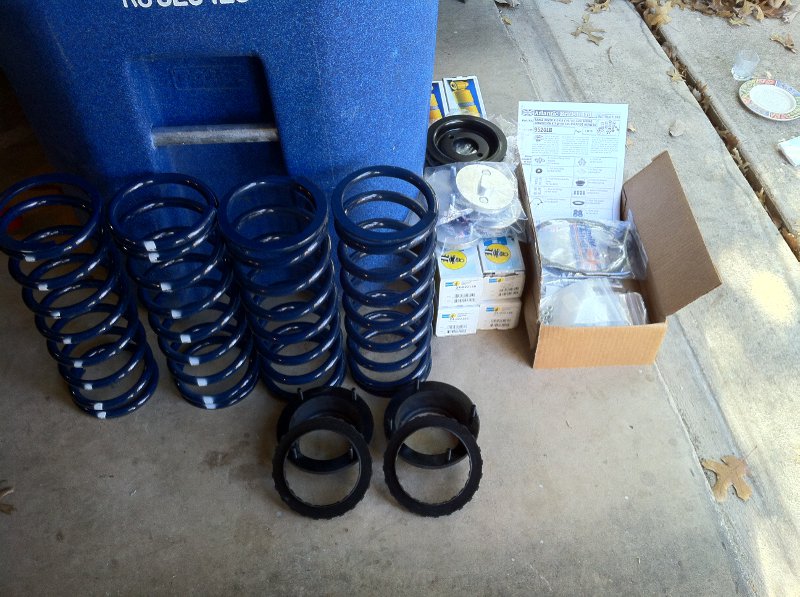
We bought the Heavy Duty Air Suspension To Coil Spring Conversion Kit With EAS Override Harness & Set Of 4 Bilstein Performance Shocks from Atlantic British. The kit is comprehensive and well put together. The Bilstein shocks are 22-022149 (B46-2214) for the front and 24-022156 (B46-2215) for the rear. I did not find any identifying markings on the springs to indicate the manufacturer. The front springs were 16.5" uncompressed and the rear springs were 16" uncompressed.


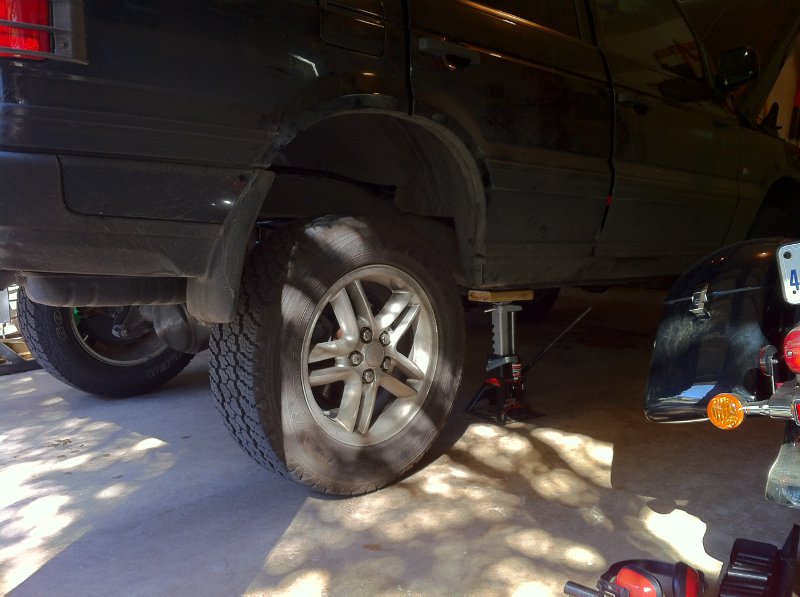
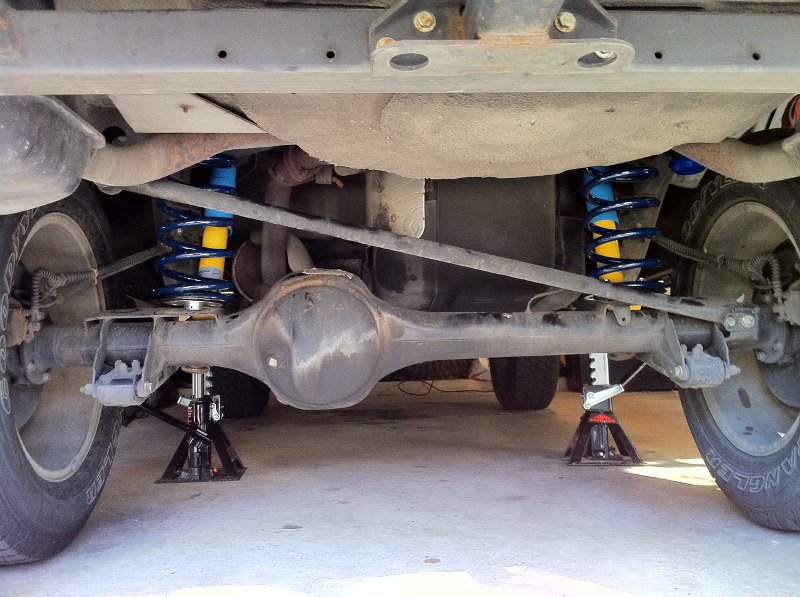
I started with the rear because the front was holding air just fine. I used a pair of safety jacks to raise the rear. The instructions tell you to remove the wheels, but that is not necessary. I was able to get the new springs in without stressing the brake lines or compressing the springs.
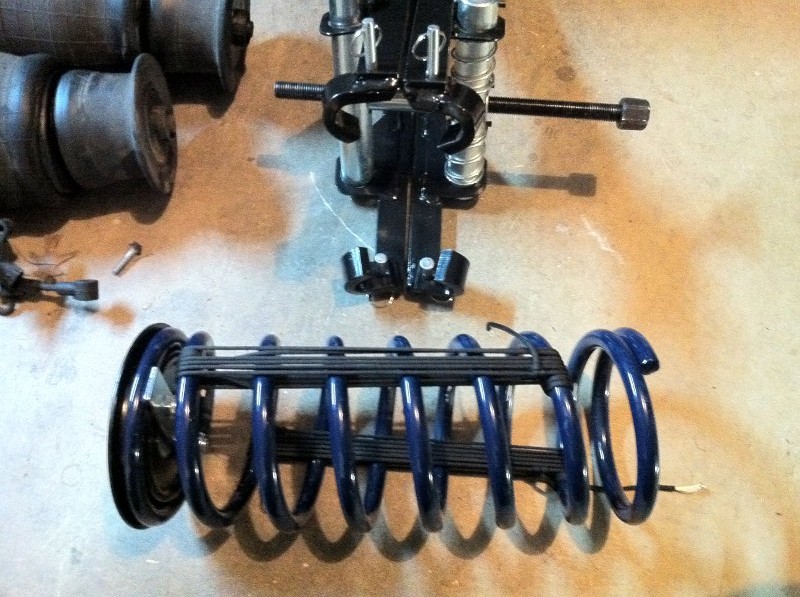
The front was a bit trickier. Replacing the shocks required a lot more work than the rear shocks. I ran into two problems with the front: I ran out of jack height right when the front brake lines were starting to get tension in them and there was no way I could get those springs in by hand. So, I had a choice. I could get a different jack and disconnect the caliper, mess with additional jack stands and blocks and disconnect the caliper, or I could get a spring compressor. I opted to get a spring compressor. I used 12' of 550 parachute cord on each side of the spring as a retaining band; round turn and two half hitches is your friend here. I probably could have used a heavy duty ratchet strap to compress and retain the spring, but the metal spring compressor seemed safer. After getting the springs into position, I untied one knot from each side and released the tension slowly by hand.
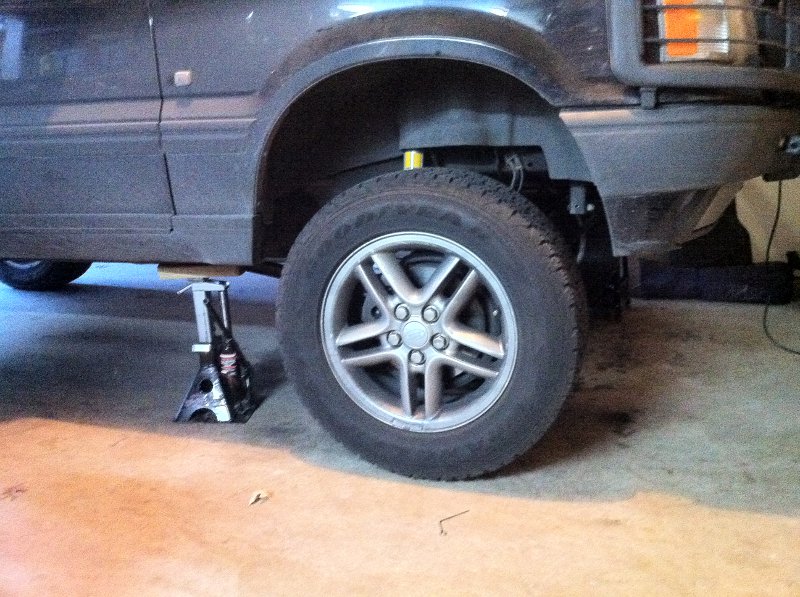
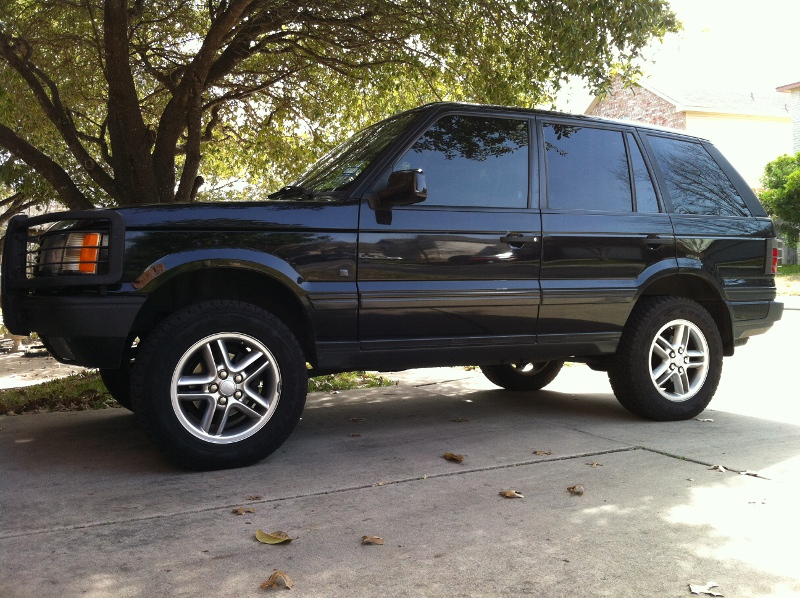
The EAS override wiring harness works great. I feel like I just hit the Staples easy button. It just beeps "EAS MANUAL" once every time you start the car. There are no repeated beeps or 35mph warnings while driving. I was able to remove the EAS controller, valve block, compressor, and sensors with no ill effects. Here is the finished product:
After driving the Rover around for a week and testing a variety of road surfaces and speed bumps, we really like the new ride overall. Some pretty bad 30mph roads near by actually feel better. The ruts and pot holes seem a bit less harsh than the EAS with 100k mile original shocks. The 1' wide 5-10mph speed bumps also seem less harsh than before. However, the 3' wide 20-30mph speed bumps seem more harsh than before. The progressive air springs and worn shocks could soak up those big speed bumps at 50mph very well, but anything over 25mph on the new setup is louder and more jarring. The Rover turns great and has great highway manners. We have decided to go ahead and do the same conversion to our second Rover. On the second Rover, I disconnected the brake line clamp at the caliper and used a bigger wood block with my jack to get extra height. This got higher, but eventually the track bar pulled the axle sideways enough that the sway bar links were hitting the frame. I ended up using the spring compressor for the front again.