I'm an AeroPress fan for several reasons:
But it is slower and more involved than pod systems and it is more hassle brewing for several people.
I usually press directly into my mug when I make coffee for myself. Things are a little more challenging when making coffee for 2+ in a single press. The result needs to be diluted more, possibly measured, and divided up among multiple cups. The AeroPress Original can press into a wide mouth mason jar, but the AeroPress XL does not fit. Mason jars are also not great for pouring (spills, possibly burning fingers, etc.).
AeroPress' solution is the AeroPress Carafe, which is not great. They really missed an opportunity here by not putting measuring graduations on the side. It would have been so easy and it would have added so much versatility. The pour spout is better than nothing, but not quite big enough or not quite the right shape. For small amounts of boiling liquid, pouring is fine because the liquid level is far enough below your fingers. For larger amounts of boiling liquid, pouring burns you because the liquid level is at the same level as your fingers and there is not enough insultation. This means you need a glove, pot holder, or some type of DIY handle.
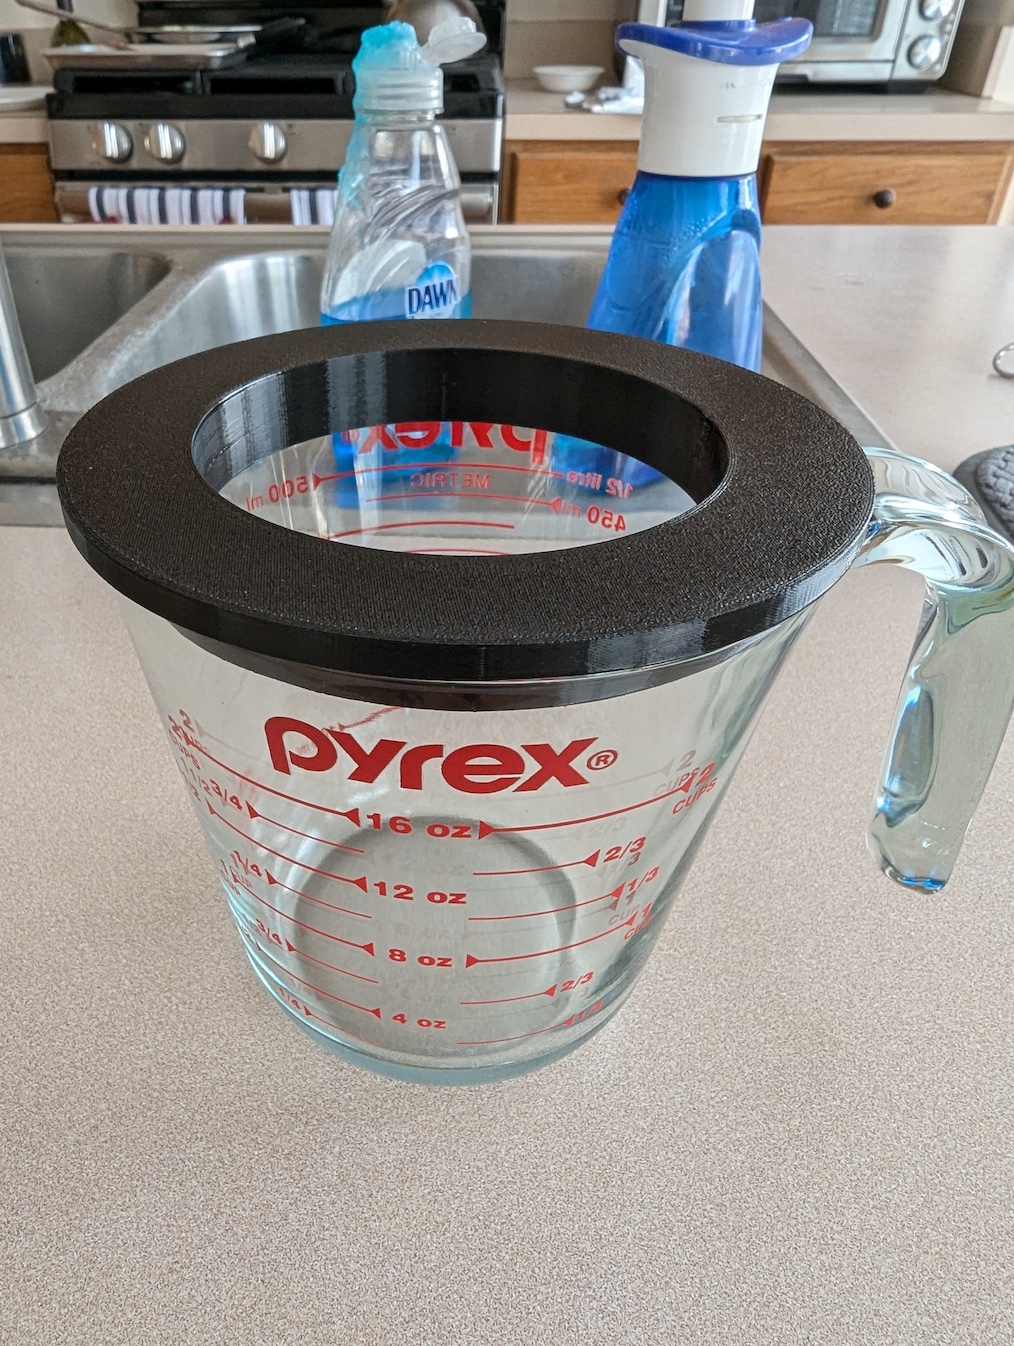
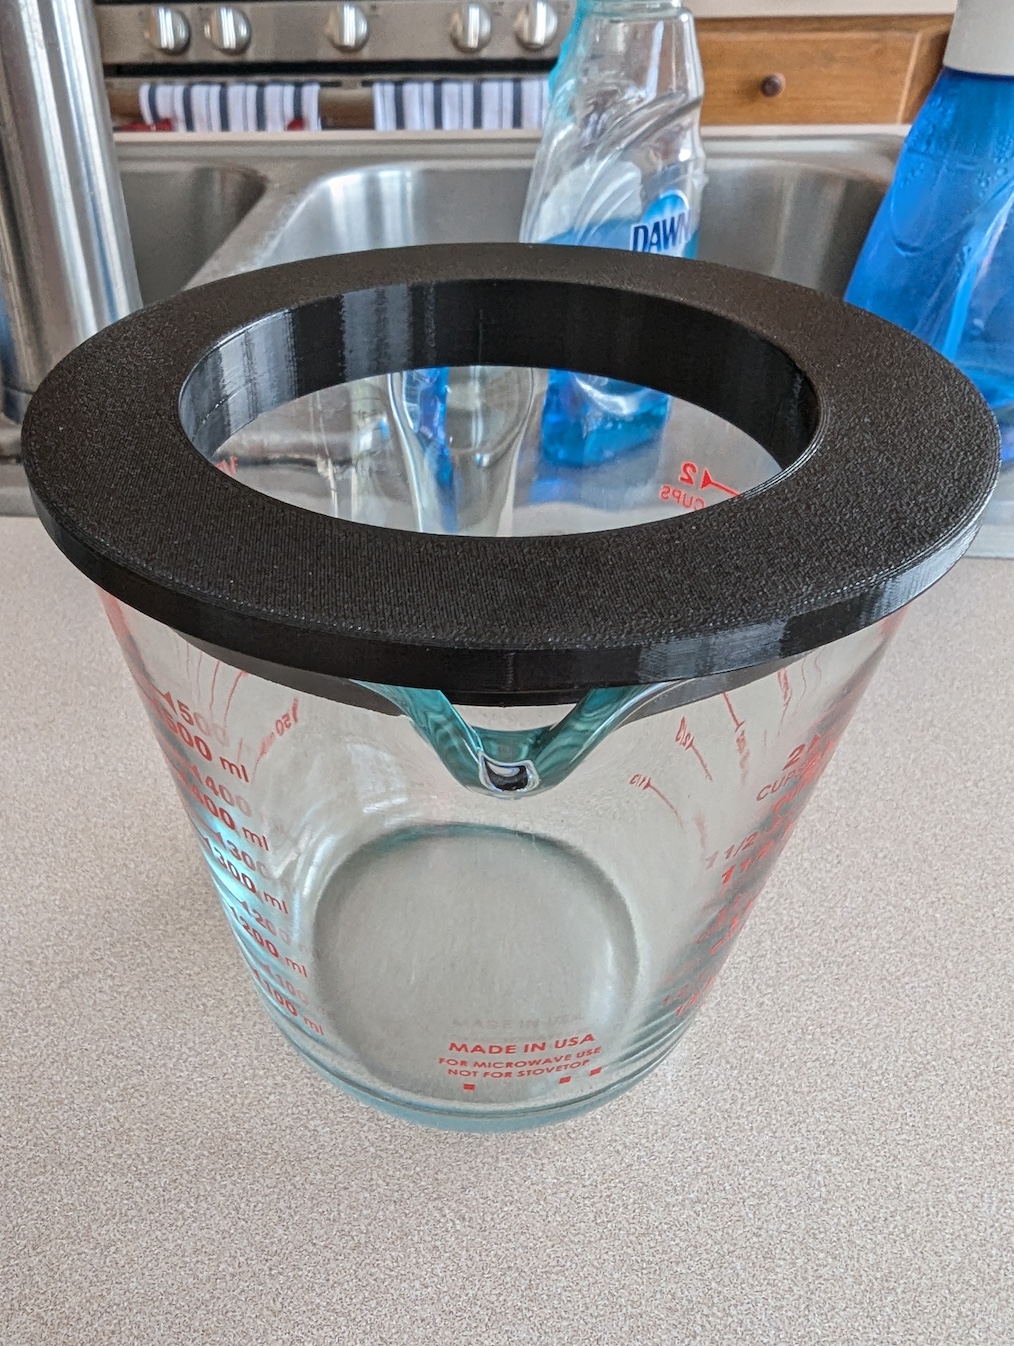
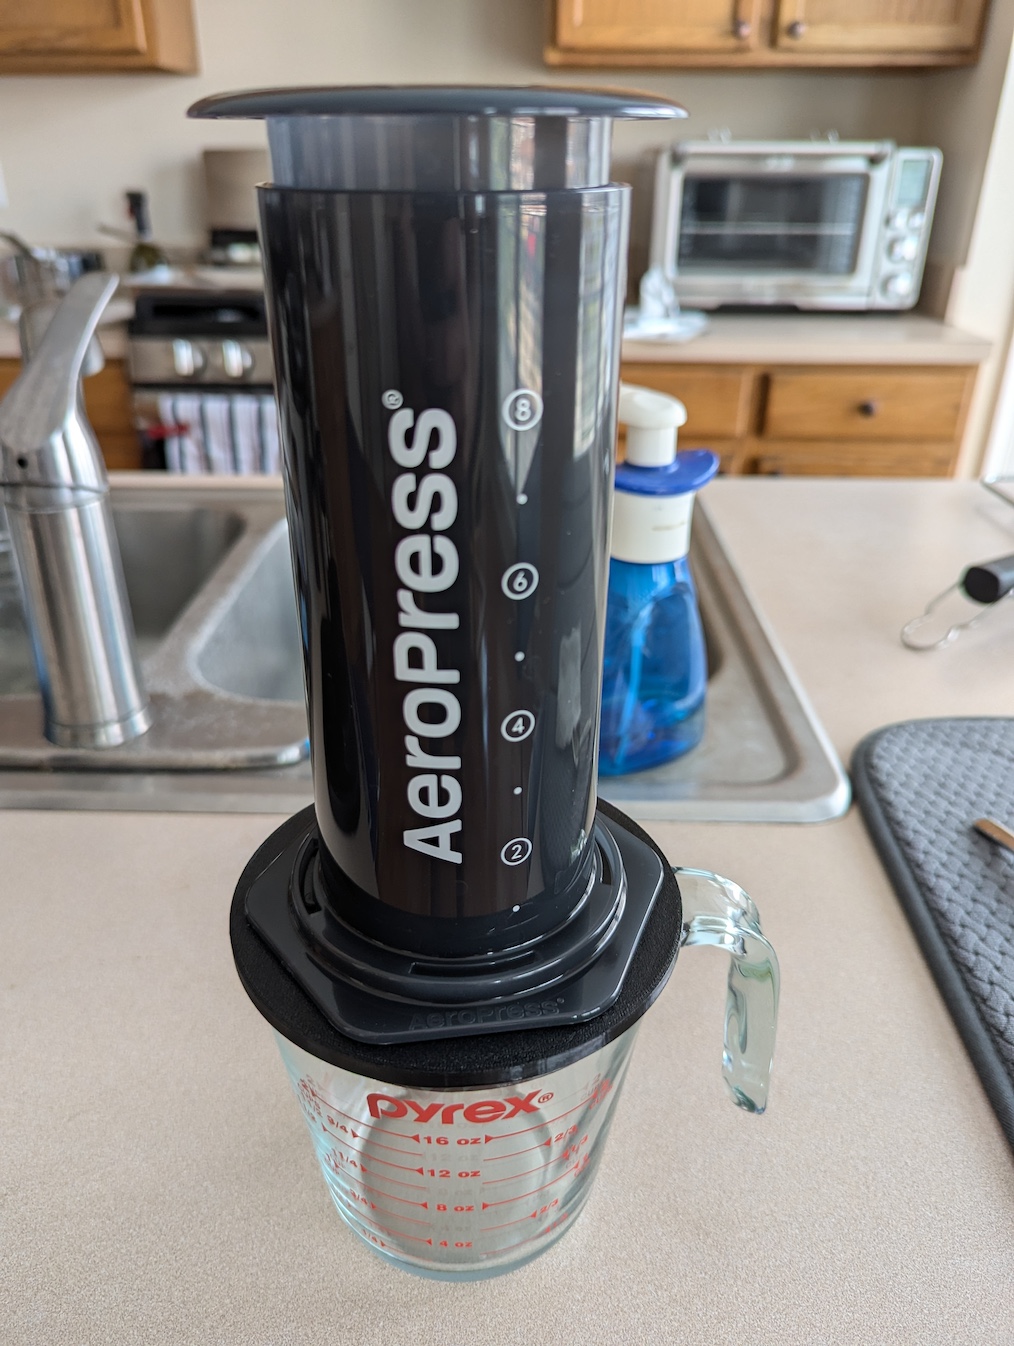
I love my Pyrex 2 cup measuring cups for all sorts of things. Unfortunately, the Original and XL are not a good fit for trying to press directly into the Pyrex. So I decided to make a simple adapter.
This little project was a good opportunity to try CAD Sketcher in Blender. I've done a bunch of other small projects in Blender, but I did not have any CAD Sketcher experience before this project. I decided to model the adapter using two different methods:
Here are the files:
After dialing in a really good first layer, I printed in PETG with 100% infill. Then I brushed over the print with a small torch to clean it up and eliminate any strings. This approach should reduce porosity and water retention as much as possible to help keep things clean. The print is not in direct contact with the coffee, but some condensation may drip from it.
If you're worried about this material or possible porosity and microbial growth, SLS nylon 12 from somewhere like Shapeways might be a good choice. That is my backup plan if the one I printed doesn't hold up long term.
The adapter works great with both the Original and the XL. It's a loose fit on everything so it's very easy to install and remove.